Images#
Introduction to Digital Images#
Digital images are stored as a grid (matrix) of colored dots called pixels. Each pixel typically has three primary color values:
Red
Green
Blue
Hence, in code, an RGB image can be considered a 3D array (list) with dimensions corresponding to (height, width, channels). For instance, a 640×480 image has 640 pixels in width (horizontal) and 480 in height (vertical), each pixel containing an (R, G, B) triplet.
Sometimes, there’s an Alpha channel (RGBA) representing transparency. We’ll focus on standard RGB for simplicity.
In Python, the Pillow library (PIL) is a common tool for reading and writing these images, while libraries like diffusers offer utility functions (like load_image) for convenience.
We’ll explore both Pillow, numpy and diffusers for:
Loading images
Manipulating images
Creating simple animations (MP4s)
Let’s start by installing and importing the necessary libraries.
We will install all necessary libraries in one step using pip like discussed in previous chapters:
pip install pillow numpy diffusers tqdm
Loading Images#
There are multiple ways in different libraries to load images stored locally on our device. The most common way is to load it using Pillow (a fort of PIL). See readthedocs.io and automate the boring stuff for more.
from PIL import Image # Import the Image class

img = Image.open("sample.jpg")
We can inspect the loaded image like so:
print('size:', img.size)
print('mode:', img.mode)
print('format:', img.format)
size: (512, 512)
mode: RGB
format: JPEG
To display an image, we can use the show method, which will open the image in the default image-viewer:
img.show()
Loading from the Web#
Image.open will only work with local files and return a PIL. The diffusers library provides a helper function to load images from the web (via ursl) or from disk (using paths).
from diffusers.utils import load_image
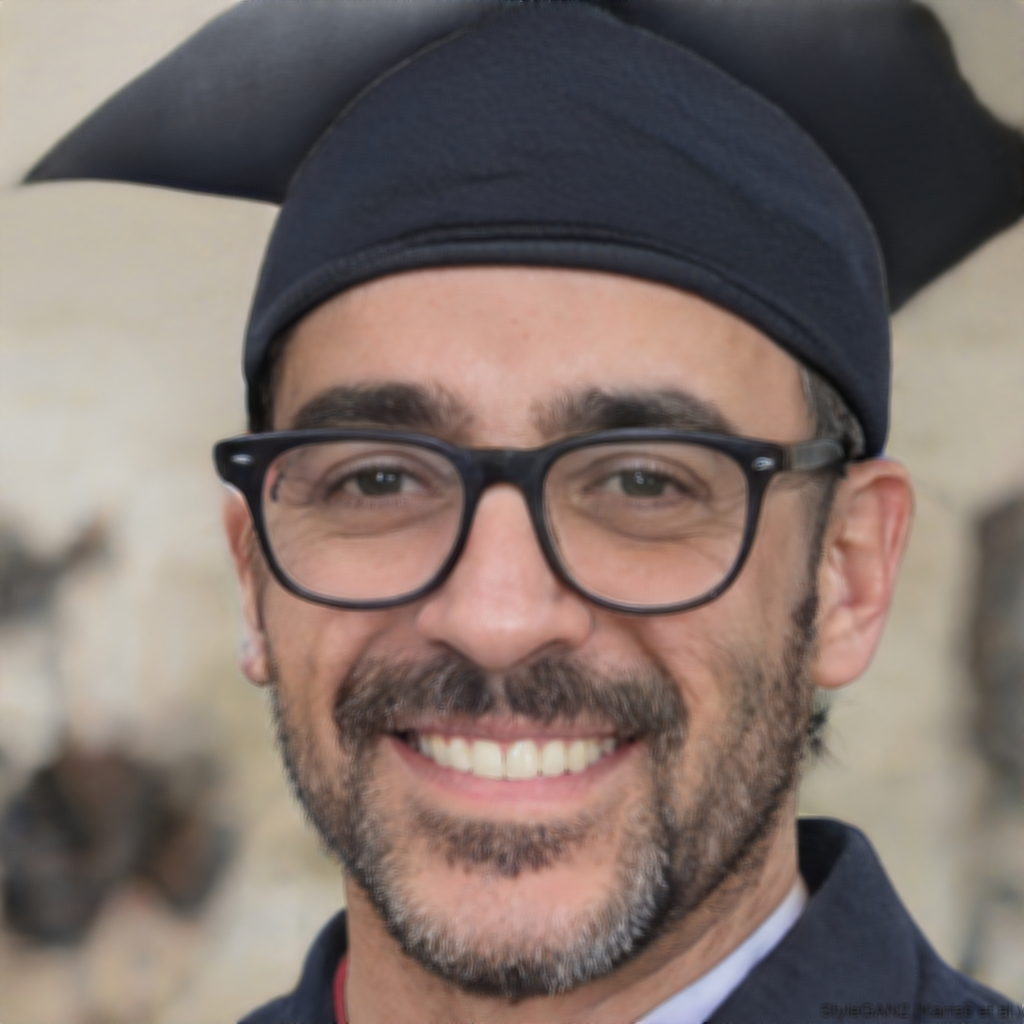
img = load_image("https://thispersondoesnotexist.com/")
The resulting image will be in the PIL format aswell.
Saving images#
Images loaded in the PIL format can be saved locally with a call to save which takes a path as the parameter. If no format is provided it will be chosen according to the file-extension in the path.
from diffusers.utils import load_image

img = load_image("https://thispersondoesnotexist.com/")

img.save("face1.png", format="PNG") # Explicit PNG

img.save("face2.png") # Implicit PNG
Manipulating Images#
Pillow provides many methods for image manipulation. Here are some common ones:
Rotate:
image.rotate(angle, expand=True).Resize (Scale):
image.resize((new_width, new_height)).Blur: using
ImageFilter.BLURor other filters fromImageFilter.Enhance Contrast: using
ImageEnhance.Contrast(image).Composite: combine multiple images using
Image.composite.
We’ll demonstrate these on an example image.
from diffusers.utils import load_image
img = load_image("https://thispersondoesnotexist.com/")
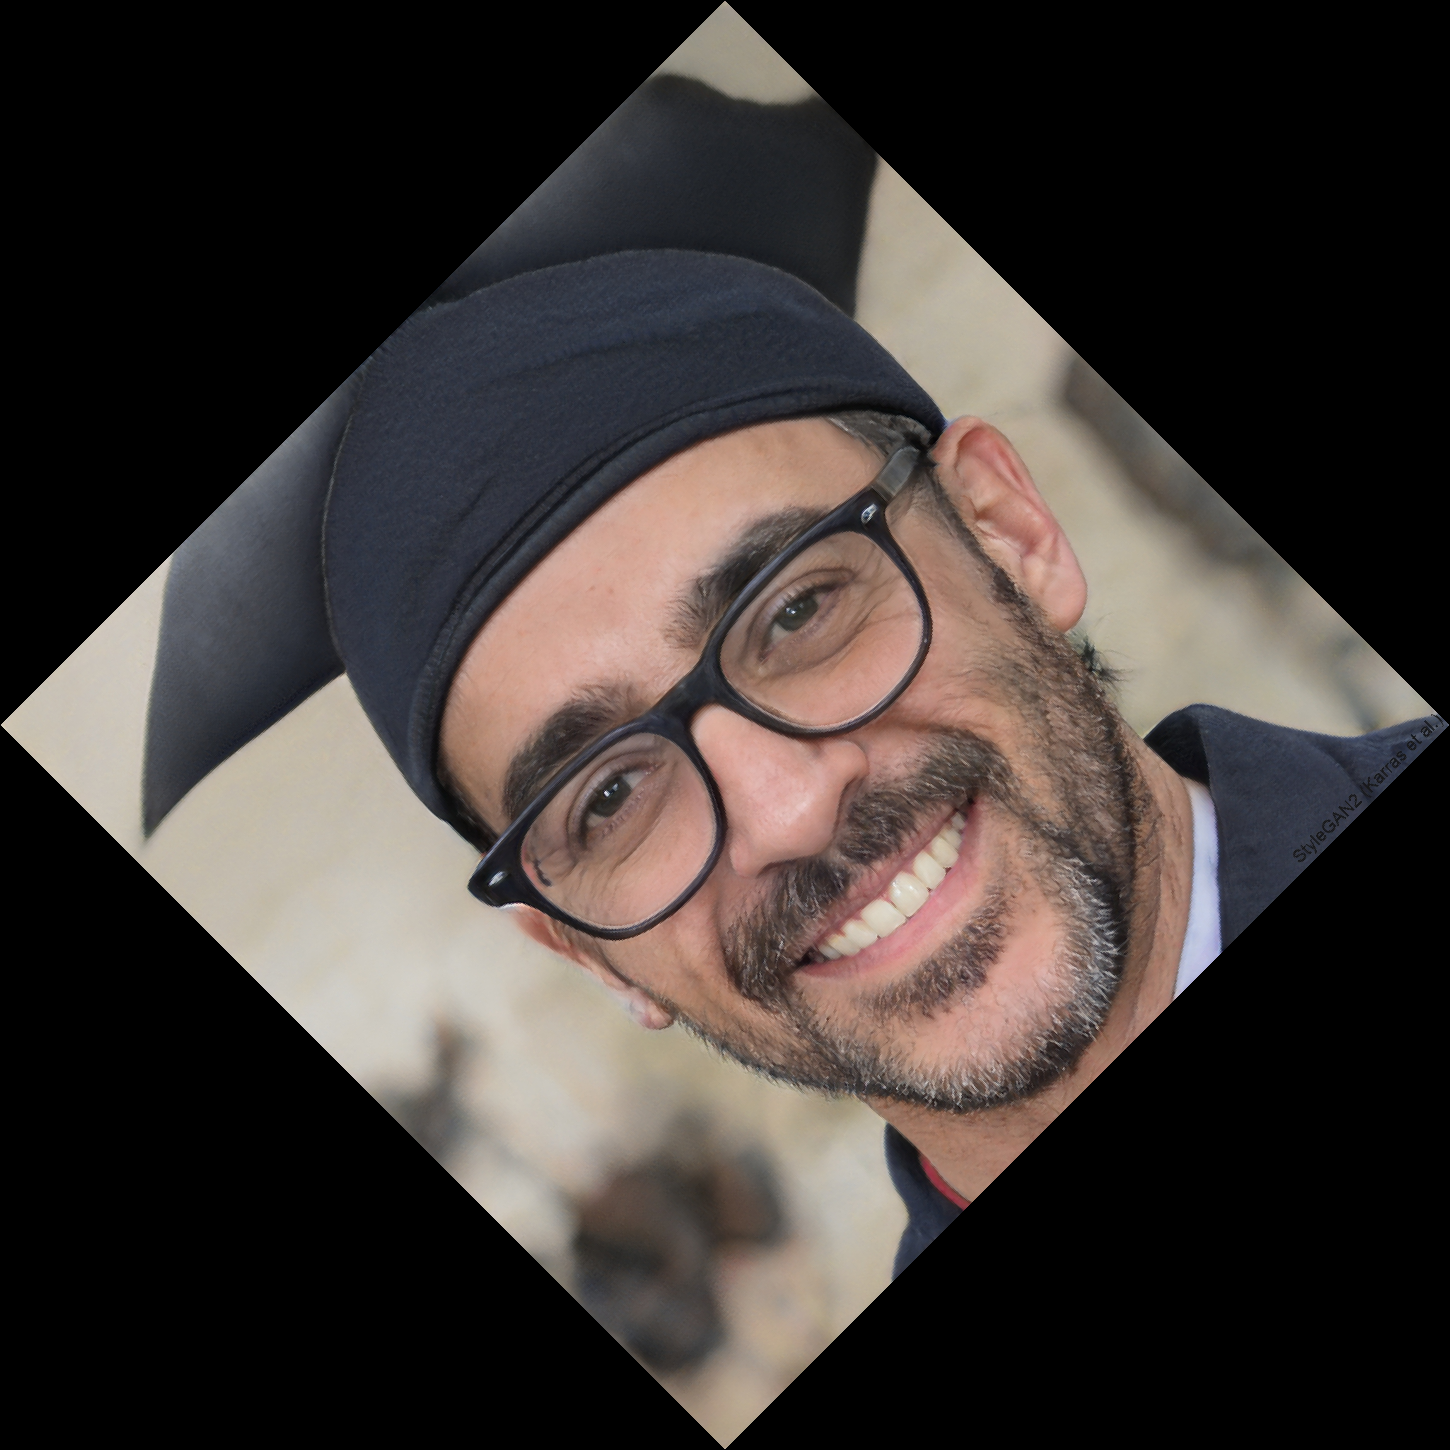
# 1. Rotate
rotated_image = img.rotate(45, expand=True)
rotated_image.save("img/rotated.png")
# 2. Scale
width, height = img.size
half_sized_image = img.resize((width // 2, height // 2))
half_sized_image = img.save("img/scaled.png")

# 3. Blur
from PIL import ImageFilter
blurred_image = img.filter(ImageFilter.BLUR)
blurred_image.save("img/blurred.png")
# 4. Enhance Contrast
from PIL import ImageEnhance
enhancer = ImageEnhance.Contrast(img)
contrast_image = enhancer.enhance(2.0)  # Increase contrast
contrast_image.save("img/enhanced.png")
# 5. Composite
# For demonstration, we composite the original and blurred image using a gradient mask.
mask = Image.linear_gradient("L").resize(img.size)
img_rgba = img.convert("RGBA")
blurred_rgba = blurred_image.convert("RGBA")
composited_img = Image.composite(img_rgba, blurred_rgba, mask)
composited_img.save("img/composited.png")
# 6. Crop
cropped = img.crop((0, 0, 256, 50))
cropped.save("img/cropped.png")

Creatin a simple animation#
from diffusers.utils import load_image, export_to_gif
from tqdm import tqdm

# Load the image
img = load_image("https://external-content.duckduckgo.com/iu/?u=https%3A%2F%2Fimages.carexpert.com.au%2Fresize%2F3000%2F-%2Fapp%2Fuploads%2F2023%2F04%2Fmini-hatch-1.jpg&f=1&nofb=1&ipt=c704c396057008b8b907cfb55732154ea8f02aebac29d5765389202c61b0e9ce")

# Create empty list of frames
frames = []

# Manipulate the image
for i in tqdm(range(10)):

    # Manipulate the image here:
    img = img.rotate(4)

    # Add the image to the frames list
    frames.append(img)

# Save frames as animation
export_to_gif(frames, "rotating.gif", fps=10)
100%|██████████| 10/10 [00:00<00:00, 49.26it/s]
'rotating.gif'
Building a Simple Dynamical System with Image Filters#
A dynamical system evolves over time by repeatedly applying the same (or similar) rules. Here, we’ll apply filters (blur, sharpen, rotate, etc.) in a loop, treating each new image as the input for the next iteration.
Learn more: Reaction–diffusion systems
from diffusers.utils import export_to_gif
from tqdm import tqdm

# 2. Load a base image
img = load_image("https://thispersondoesnotexist.com/").convert("RGB")

# 3. Iteratively apply transformations
num_frames = 60
frames = []

for i in tqdm(range(num_frames)):
    img = img.filter(ImageFilter.BLUR)
    img = img.filter(ImageFilter.SHARPEN)
    frames.append(img)

export_to_gif(frames, "system.gif", fps=10)
100%|██████████| 60/60 [00:02<00:00, 28.20it/s]
'system.gif'
from diffusers.utils import export_to_gif
from tqdm import tqdm

# 2. Load a base image
img = load_image("https://thispersondoesnotexist.com/").convert("RGB")

# 3. Iteratively apply transformations
num_frames = 60
frames = []

for i in tqdm(range(num_frames)):
    img = img.filter(ImageFilter.GaussianBlur(radius=4))

    # use a fixed sharpen amount (or vary it too)
    img = img.filter(ImageFilter.UnsharpMask(radius=10, percent=550, threshold=1))
    frames.append(img)

export_to_gif(frames, "system2.gif", fps=10)
100%|██████████| 60/60 [00:02<00:00, 25.06it/s]
'system2.gif'
Example: Repeated Blur + Sharpen + Rotation#
We’ll do the following:
Load an initial image.
Rotate it slightly, then blur and sharpen.
Save each iteration.
Export all frames as an GIF using
export_to_gif.
from diffusers.utils import export_to_gif
from tqdm import tqdm

# 1. Define the transformation steps
def blur_then_sharpen(input_image: Image.Image) -> Image.Image:
    blurred = input_image.filter(ImageFilter.BLUR)
    sharpened = blurred.filter(ImageFilter.SHARPEN)
    return sharpened

# 2. Load a base image
original_img = load_image("https://thispersondoesnotexist.com/").convert("RGB")


# 3. Iteratively apply transformations
num_frames = 60
frames = []

current_img = original_img
angle = 0

for i in tqdm(range(num_frames), desc="Generating frames"):
    # Rotate slightly
    rotated = current_img.rotate(angle, expand=True)

    # Blur + Sharpen
    processed = rotated.filter(ImageFilter.BLUR).filter(ImageFilter.SHARPEN)

    # Resize back to original shape if rotation changed dimensions
    processed = processed.resize(original_img.size)

    # Accumulate frames
    frames.append(processed)

    # Prepare next iteration
    current_img = processed
    angle += 1  # 1 degree each iteration
Generating frames: 100%|██████████| 60/60 [00:04<00:00, 13.54it/s]
Exporting the Frames as an MP4#
We can now call export_to_video to compile these frames into a video file.
export_to_gif(
    frames,
    output_gif_path="animation.gif",
    fps=10,
)
'animation.gif'

Loading Images as numpy#
We can also use numpy to read an image direclty as a three-dimensional list of color values. for that we can convert any PIL image to numpy.
from diffusers.utils import load_image
import numpy as np # numpy is usually renamed to np

# Load as PIL
img_pil = load_image("https://thispersondoesnotexist.com/")


# convert to numpy
img_np = np.asarray(img_pil)
print('dimensions:', img_np.ndim)
print('shape:', img_np.shape)
print('size', img_np.size)
dimensions: 3
shape: (1024, 1024, 3)
size 3145728
print(img_np)
[[[166 161 142]
  [167 160 141]
  [160 154 130]
  ...
  [157 151 127]
  [157 149 128]
  [151 143 124]]

 [[167 162 143]
  [163 156 137]
  [161 154 135]
  ...
  [156 150 126]
  [159 153 131]
  [159 153 131]]

 [[164 159 140]
  [163 156 138]
  [162 155 137]
  ...
  [158 154 129]
  [162 157 135]
  [157 155 132]]

 ...

 [[ 25  25  23]
  [ 21  21  19]
  [ 24  23  21]
  ...
  [ 24  25  20]
  [ 22  23  18]
  [ 22  23  17]]

 [[ 30  30  30]
  [ 22  20  21]
  [ 19  18  16]
  ...
  [ 20  22  21]
  [ 19  21  18]
  [ 25  25  23]]

 [[ 39  37  40]
  [ 22  20  23]
  [ 22  20  21]
  ...
  [ 20  24  25]
  [ 24  28  29]
  [ 38  40  39]]]
We can now manipulate pixel values directly using mathematical functions, but we can also use generative artificial intelligence to write the functions for us. For that we will just need to formulate our prompt accordingly.
As a base prompt we can use the following:
Give me a python function that takes an image in numpy format (RGB) and manipulates it. The function should return a numpy array in the same format and be called my_function. The function should ...
Using this prompt and descriptions for what should happen with the image we can manipulate without writing the code ourselves.
For example:
The function should make the image grayscale.
The function should invert the image.
The function should sort pixels in the image by brightness.
Paste the resulting funtion into your code and execute it.
from diffusers.utils import load_image

# Paste your function here:

def my_function(img):
    return img

img_pil = load_image("https://thispersondoesnotexist.com/")
img_np = np.asarray(img_pil)

manipulated_img = my_function(img_np)

Image.fromarray(manipulated_img).save("img/manipulated.png")